Blog
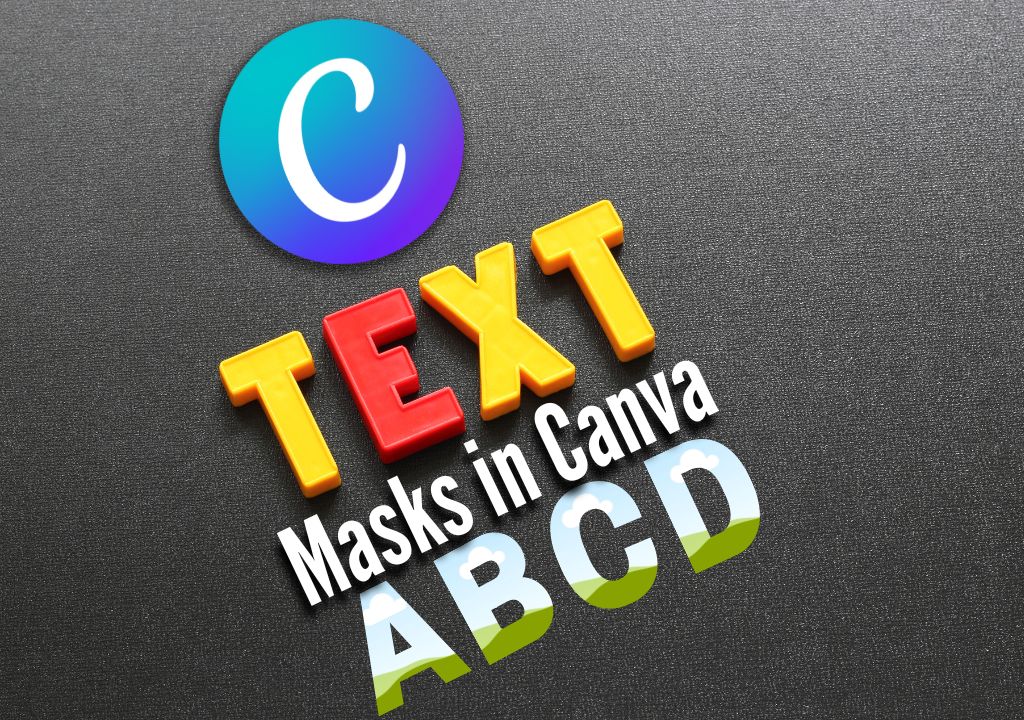
How to Create Text Masks in Canva
IN THIS ARTICLE
Canva: An Online Design Platform
Canva represents the epitome of accessibility within the realm of design. It serves as a haven for individuals seeking to express their creativity without the barriers of complex software or steep learning curves. What sets Canva apart is its user-friendly interface, carefully crafted to cater to both seasoned designers and novices alike.
From the moment you embark on your design journey, Canva welcomes you with open arms, offering a wealth of templates, elements, and customization options to explore. Whether you’re an experienced graphic artist or someone venturing into design for the first time, Canva’s intuitive tools empower you to bring your creative visions to life effortlessly.
What is a Text Mask?
A text mask is a versatile design technique that adds depth and visual interest to text elements by overlaying them with images or patterns. This process involves blending the text with the chosen image or pattern in a way that allows the text to adopt the shape, texture, or color of the underlying element, creating a captivating visual effect.
The concept of text masking opens up a world of creative possibilities for designers, allowing them to infuse their typography with personality and flair. By incorporating text masks into their designs, designers can achieve various artistic effects, from subtle and elegant to bold and eye-catching.
One common application of text masks is to use them to fill text with images. This technique involves placing an image behind the text and then applying a mask to the text layer, causing the image to show through the text. This approach allows designers to incorporate photographs, illustrations, or textures into their typography, adding depth and visual richness to the overall design.
Another popular use of text masks is to overlay text with patterns or gradients. By applying a pattern or gradient mask to the text layer, designers can create intricate and dynamic text effects that seamlessly blend with the background or other design elements. This technique is particularly effective for adding visual interest to headings, titles, or other prominent text elements within a design.
How to Create Text Masks in Canva
In Canva, creating text masks is a straightforward process that opens up a world of creative possibilities. Whether you’re designing social media graphics, presentations, or marketing materials, mastering text masks can take your designs to the next level. In this guide, we’ll walk you through the step-by-step process of creating text masks in Canva, empowering you to unleash your creativity and craft stunning visuals.
1- Select Your Design: Begin by logging in to your Canva account and selecting a design canvas that suits your project. Whether it’s a blank canvas or a pre-designed template, Canva offers a variety of options to kickstart your creative process.
2- Add Text: Click on the Text tab located in the toolbar and select a text element to add to your design. Choose from a range of fonts, styles, and sizes to customize your text to match your design aesthetic.
3- Choose Your Image: Upload an image from your computer or select one from Canva’s extensive library to use as the mask for your text. Consider the mood and theme of your design when choosing an image, as it will influence the overall look and feel of the text mask effect.
4- Overlay Text: Position the text element over the chosen image, adjusting its size and orientation to fit your design layout. Experiment with different placements to find the perfect balance between the text and the underlying image.
5- Apply Mask: With the text element selected, navigate to the “Effects” tab in the toolbar and choose the “Mask” option. Canva offers a variety of masking options, including shapes, textures, and patterns. Select the desired mask option and apply it to the text layer.
6- Fine-Tune: Once the mask is applied, fine-tune the position, size, and orientation of the text and mask to achieve the desired effect. Use the editing tools available in Canva to make adjustments until you’re satisfied with the result.
7- Experiment: Don’t be afraid to experiment with different mask options to add variety and creativity to your designs. Try out different shapes, textures, and patterns to see which ones work best for your design concept
By following these steps, you can easily create stunning text masks in Canva that elevate your designs and capture the attention of your audience. Whether you’re designing social media graphics, presentations, or marketing materials, text masks offer a versatile and impactful way to enhance your typography and make your designs stand out.
Types of Text Masks in Canva
Image Mask
Shape Mask
Gradient Mask
Gradient masks allow you to apply gradient fills to text, blending colors seamlessly and creating smooth transitions between hues. With Canva’s gradient mask feature, you can add depth and dimension to your text, enhancing its visual impact and appeal. Whether you’re aiming for a subtle gradient effect or a bold color transition, gradient masks offer flexibility and customization options. Experiment with different color combinations and gradient styles to create unique and eye-catching text designs that command attention.
Texture Mask
Tips and Tricks for Text Masks in Canva
Experiment with Blending Modes: Canva offers a variety of blending modes that allow you to combine text and mask elements in unique ways. Experiment with blending modes such as Multiply, Screen, Overlay, and Soft Light to achieve different effects and interactions between the text and mask elements. Blending modes can add depth, texture, and dimension to your designs, enhancing their overall visual appeal.
Use High-Resolution Images: When selecting images to use as masks in Canva, opt for high-resolution images to ensure crisp and clear mask effects. High-resolution images are especially important for larger designs or print projects, where image quality is crucial for optimal results. Canva provides options to upload high-resolution images or choose from its extensive library of premium and free stock photos, ensuring you have access to the best quality visuals for your designs.
Layering and Stacking: Experiment with layering multiple text and mask elements to create complex compositions and depth in your designs. Canva allows you to stack text and mask layers, enabling you to create intricate text effects and visual arrangements. By layering elements strategically, you can add depth, dimension, and visual interest to your designs, making them more engaging and dynamic.
Play with Opacity: Adjusting the opacity of text and mask elements allows you to control the intensity of the mask effect and create subtle or dramatic visuals. Canva provides sliders and controls to adjust the opacity of text and mask layers, giving you precise control over their transparency levels. By adjusting the opacity settings, you can fine-tune the appearance of your text masks, ensuring they blend seamlessly with the rest of your design while still making a visual impact. Experiment with different opacity levels to find the perfect balance for your designs.
FAQ
Can I use any image as a mask for text in Canva?
Absolutely! You can upload your images or choose from Canva’s extensive library to use as masks for your text designs.
Are there any limitations to the number of text masks I can apply in a design?
Canva allows you to apply multiple text masks in a single design, giving you the freedom to explore and experiment with various effects and compositions.
Can I animate text masks in Canva?
While Canva does not offer built-in animation features for text masks, you can export your designs and use external animation tools or software to animate them.
Can I download designs with text masks in high resolution?
Yes, Canva allows you to download designs with text masks in high resolution, ensuring optimal quality for printing and digital use.
Can I create custom text masks in Canva?
While Canva provides a diverse range of pre-made text masks, you can also create custom masks using shapes, patterns, or images uploaded to your account.
Is there a limit to the size of text masks I can apply in Canva?
Canva does not impose specific size limitations on text masks, allowing you to adjust the size and scale of text and mask elements freely.
Can I edit text after applying a mask in Canva?
Yes, you can edit text properties such as font, size, color, and alignment even after applying a mask, allowing for flexibility and customization.
Can I use text masks in Canva presentations and videos?
Absolutely! You can incorporate text masks into Canva presentations, videos, social media graphics, and other design projects to add visual interest and engagement.
Are there any advanced techniques for creating text masks in Canva?
Advanced users can explore techniques such as layer masking, opacity blending, and gradient mapping to create complex and dynamic text mask effects in Canva.
Can I share my designs with text masks with others on Canva?
Yes, you can share your designs with text masks with others on Canva by inviting them to collaborate on your design or by downloading and sharing the design file
Conclusion
In conclusion, mastering the art of text masks in Canva opens up a world of creative possibilities for designers and content creators alike. With Canva’s intuitive platform and extensive range of tools, anyone can effortlessly transform their text into visually stunning masterpieces. Whether you’re looking to add depth, texture, or personality to your designs, text masks offer a versatile and dynamic way to elevate your typography game. By following the step-by-step instructions, exploring various mask options, and implementing expert tips and tricks, you can unleash your creativity and craft captivating designs that leave a lasting impression. So, dive into Canva’s text masking feature, experiment with different techniques, and let your imagination soar as you create unforgettable visuals that truly stand out.
Did you know that Canva offers an exclusive Pro discount for students and teachers? It’s a fantastic opportunity to enhance your design capabilities at a special rate. If you’re a student or educator, don’t miss out on this great deal! Learn more about getting your Canva Pro student discount on A Guide to Getting a Canva Student Discount
2024 BLACK GIRL Digital Planner
BLACK GIRL Digital Planner 2024, Daily, Weekly and Monthly Planner for iPad & Tablet Compatible with GoodNotes, Notability & XODO
Related Posts
Where to Sell Your Digital Products for Maximum Profit
-
Posted by
 Turnit Studio
- 0 comments
PLR Products: Everything You Need to Know
-
Posted by
 Turnit Studio
- 0 comments
What is a PLR eBook and How Can It Boost Your Online Business?
-
Posted by
 Turnit Studio
- 0 comments
Are Canva Images Copyright Free?
-
Posted by
 Turnit Studio
- 0 comments
Step-by-Step Guide to Adding Music to Canva Video
-
Posted by
 Turnit Studio
- 0 comments
Step-by-Step Guide to Fix the ‘Saving Paused’ Issue in Canva
-
Posted by
 Turnit Studio
- 0 comments
How To Print In Canva?
-
Posted by
 Turnit Studio
- 0 comments
How to Merge Two Elements in Canva
-
Posted by
 Turnit Studio
- 0 comments
Step-by-Step Guide to Editing Your Resume using Canva
-
Posted by
 Turnit Studio
- 0 comments
Discovering the Transformative Definition of Mindfulness
-
Posted by
 Turnit Studio
- 0 comments
5 Top Canva Video Downloaders
-
Posted by
 Turnit Studio
- 1 comment
Creating 300 DPI Images Using Canva
-
Posted by
 Turnit Studio
- 0 comments


